I went on my photography course
yesterday, the one that I mentioned here, and I wanted to tell you about it :) This isn't so much a relaying of what I learned, but more a review of the course.
 |
| My DSLR camera - a Canon 350D - bought cheaply from ebay! |
To get the boring bits out of the
way first: the course was at Leading Imagery, which is in Clay Cross, near
Chesterfield, Derbyshire, and I bought it as a voucher from Amazon Local for
£29.
Andy Hibberd, who runs the
course, is an ex-marine. He qualified and worked as a military photographer,
training at the Military’s Defence School of Photography. He has since left the military and now has his own photography business,
including a studio and these courses.
So about the course… It was a 1
day course for DSLR or bridge camera users, although I think it is more useful
for DSLR cameras as these have more versatility. The aim of the course was basically
to teach you how to use your camera on the full manual setting, adjusting all
those complex bits to get the correct exposure for your photos.
The course was well organised,
and Andy obviously knew his stuff. Occasionally he struggled to get across his
meaning in a clear explanation, but he was totally happy to spend time going
over things to clarify, and answering any questions. His laid back and friendly style made
everyone in the group feel comfortable asking questions and contributing to
discussions, so no-one was left with an unanswered query or confusion in the end.
We spent the morning in the
studio going over theory; covering shutter speed, ISO, and aperture. What was
great is that Andy didn’t only cover what these terms mean, but also how to
work out what they should be and apply the theory in order to get correct exposure. He also covered
what secondary effects each of these elements has (besides controlling the
light hitting the sensor); i.e. aperture also affects depth of field; shutter
speed also affects subject movement and camera shake; and ISO has an effect on
image quality. Thus helping you to balance the settings to suit your requirements.
 |
| Idiot's Guide at the bottom, and the key for ISO, Aperture and Shutter Speed at the top |
This was really useful for me as
I had covered the theory of these settings on the City & Guilds course I did a few
years ago, but hadn’t learned how to apply the theory as I had been on the
‘compact camera’ version of the course – I didn’t have DSLR back then.
We also covered some theory of composition,
learning about composition ‘rules’ such as the rule of thirds, filling the
frame, dynamic angles, leading lines, contrast etc. Again this was really useful for me as
the one lesson I missed during my C&G course was the one on composition! This
section was covered in good detail, and we discussed some things I had already
picked up, plus more I hadn’t considered, along with details and tips for how
to achieve these results.
Before we broke for lunch, Andy
went round each person to give them a quick personalised lesson about their own
camera and how to change all the settings etc. so that we could apply the
theory when we went out in the afternoon. He also showed everyone how to locate
and use the light meter on their cameras so that we could ensure the correct exposure when
shooting.
In the afternoon we had a checklist
of shots to take, which gave us specific styles of composition for us to interpret
(e.g. rule of thirds, or leading lines etc), as well as dictating what either
the ISO, shutter speed or aperture must be. This meant that we had to work out
what the remaining settings would need to be in order to
get the effect we wanted along with the correct exposure. I thought it was
really excellent to take a strict worksheet out in order to direct and focus your
work, and to go through the theory we had been taught in a systematic way so
that we could see how everything fit together.
I found it really frustrating to
be so slow at working out what the settings should be and then making those
adjustments! I think that is something that will come with practice though, and
it won’t always be so slow for me. Other limitations we had for this shoot were that we had to
take the pictures without reviewing them on the camera screen, and we could
only take 1 shot for each exercise on the shot list. This really made me focus!
I was really careful watching my light meter to make sure the exposure would be
correct, and the 1 photo rule was very different to my usual style of taking
several shots, each with slight adjustments to the framing and angles etc. This
was really good for me as it made me think much more carefully about the framing
of the shot I was taking. Despite all this concentration, I was still anxious
about my results – especially as we would all see them together back at the
studio!
In fact, I was very pleasantly
surprised with my photos when we got to the review. I had mostly good
exposures, and some good compositions. Some of my photos were more pleasing to
me than other versions of the same shot by the rest of the group, which made me
really pleased that I was capturing things the way I wanted to. I think it
shows a real improvement in my photography :)
I also got some good feedback from Andy about my exposures and
some of my compositions, which was nice!
So here are some of my shots;
please bear in mind that these were taken to order for the purpose of learning,
and with limited subject matter! In each case, where a setting (aperture, ISO or shutter speed) is given, we had to work out the remaining settings to achieve a good exposure.
 |
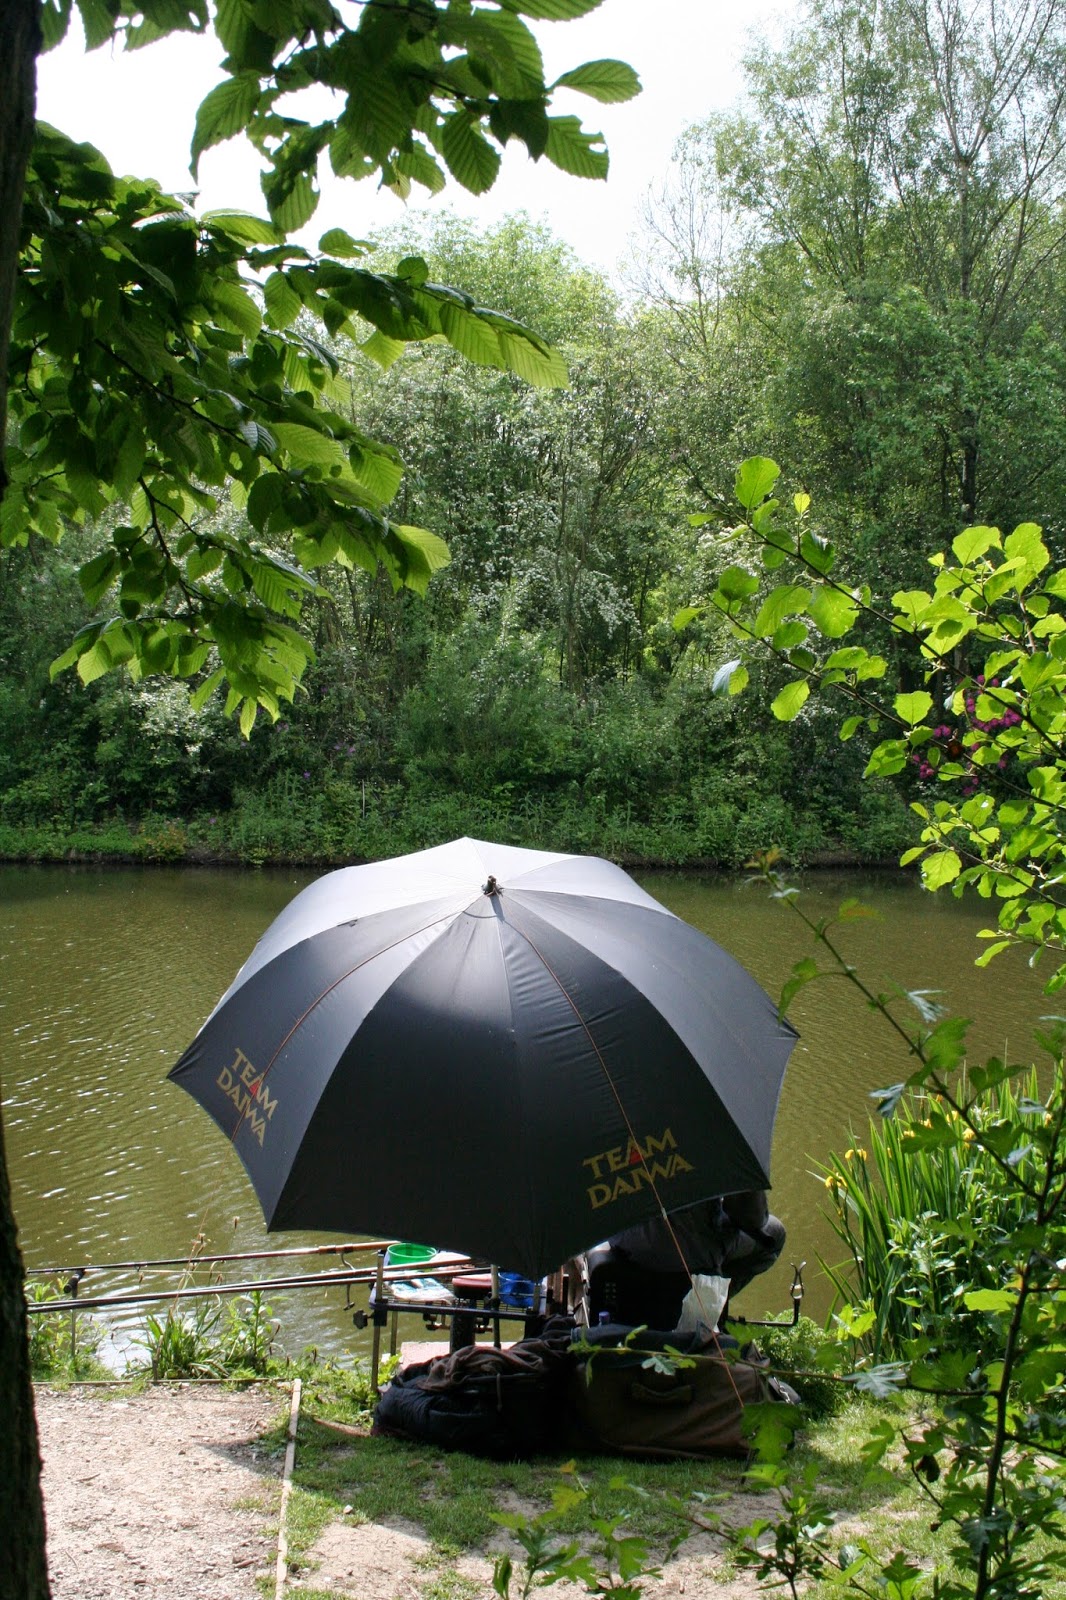
| Use the Idiot's Guide for all of the settings, and a composition style of your choice. I chose 'Frame Within a Frame', using the plants in the foreground to frame the geese beyond. |
 |
| Use an aperture of f8 and a shutter speed of 1/400, 'Dynamic Angle' for composition. The angle was meant to be more dynamic, but my camera is old and you can't use the screen to take photos - only the viewfinder. I therefore couldn't get in quite the right position to get the angle I really wanted for this shot, as it would have meant kneeling in goose poo... |
 |
| Use f22 for Aperture, and 'Contrast' for composition. I had to wait for several breezes to pass so that the leaves became still and I could line up the sun correctly to get this effect! |
 |
| Use aperture of f16 and an ISO of 800, with 'Frame Within a Frame' for composition |
 |
| Use f5.6 for Aperture - giving a shallow depth of field - and 'Leading Lines' for composition |
 |
| Once we had all of the checklist shots we took take our own using combinations of composition styles - with this one I was aiming for 'Dynamic Angle' and 'Filling the Frame'. I also went for a bigger aperture (lower f-number) in order to create a shallower depth of field, so that the daisies in the middle were in focus while the foreground and background are not. |
I really felt like I gained a lot
in terms of understanding how to set up my camera and make adjustments - and
therefore gain control over certain elements of photography that will in turn allow
me to take better pictures. I am no longer scared of the manual setting and my DSLR
can come out of hibernation now I know how to use it better! I’ll need to
practice lots in order to make it more like second nature if I want to get the real
benefit – good job I like taking photos… ;)
Fab photos, great idea to take a course x
ReplyDeleteThank you! I definitely find it better when learning with people, rather than just from a book. Although looking at lots of other people's lovely photos really helps too!
DeleteDx